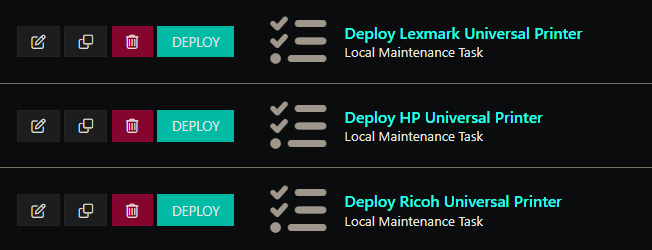
To start with you will need to duplicate the task, since the global one is just a template. If you, like me, intend to use Universal printer drivers, I recommend duplicating one task for each manufacturer.
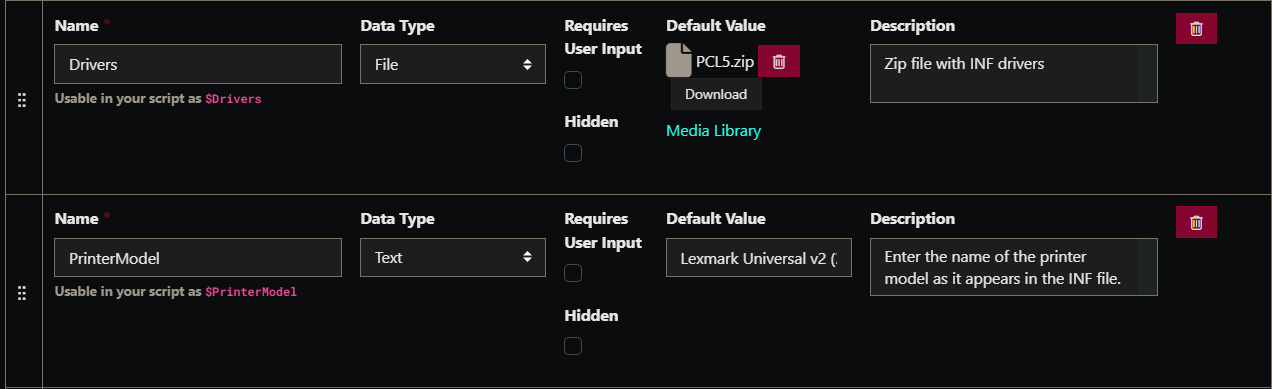
For ease of use, I uploaded the driver and added the printer model to the task parameters directly. Continue reading to learn more about these parameters.
For the universal driver, I recommend PCL5 or PCL6. PCL5 may offer wider compatibility. Once it’s downloaded, you will need to extract the contents and compress them to a zip file. It is also a good idea to make a copy of the inf file for reference. The PrinterModel is fairly easy to locate in the inf file. It will look similar to “Lexmark Universal v2 (3.0.2.0)”=XXXXXXXXXXXXXXXXXXXXX (where the X’s are a hardware ID). The PrinterModel itself is just the part that is enclosed in quotations.
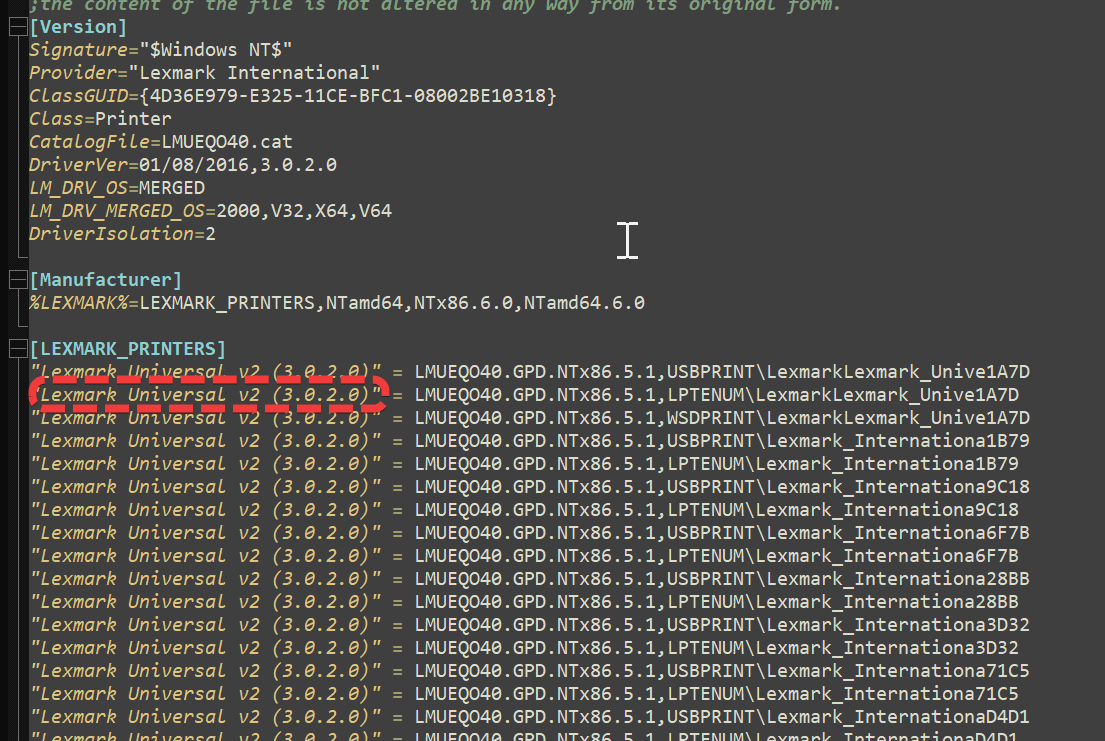
You’ll notice with Universal printer drivers that the PrinterModel tends to get repeated. That’s fine, it just means that it supports all those hardware IDs on the right hand side. If you have a more specific driver, you will need to actually determine the correct PrinterModel for your hardware.
Lastly, you can determine the printer name and port name of your printer by running Get-Printer | Select-Object -Property Name,PortName on a computer that is already configured with the printer. One caveat I noticed in my tests is that you cannot use a WSD port name, you must use the actual IP address of the printer.
With all this information, you can now configure your parameters:

Additionally, you can determine the available WMI settings by using the commands in the help message under WMIAdvancedPrinterSettings. I ran those commands on a preconfigured machine and my demo machine to identify any additional features that weren’t enabled using the ImmyBot deployment. I hope this helps everyone, and feel free to add additional information in the comments.